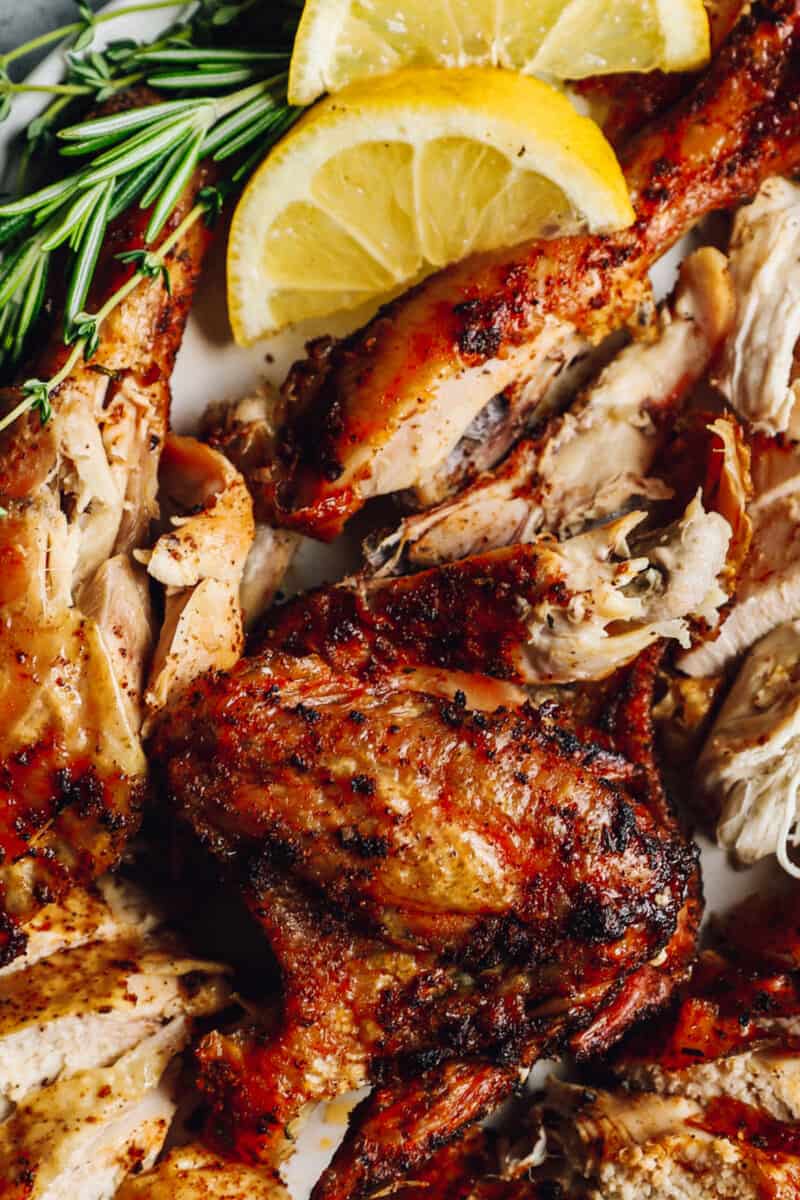
Fire up the grill! This Beer Can Chicken comes out perfectly cooked and super tender. Seasoned with a host of spices, it’s such a delicious and fun BBQ dish!
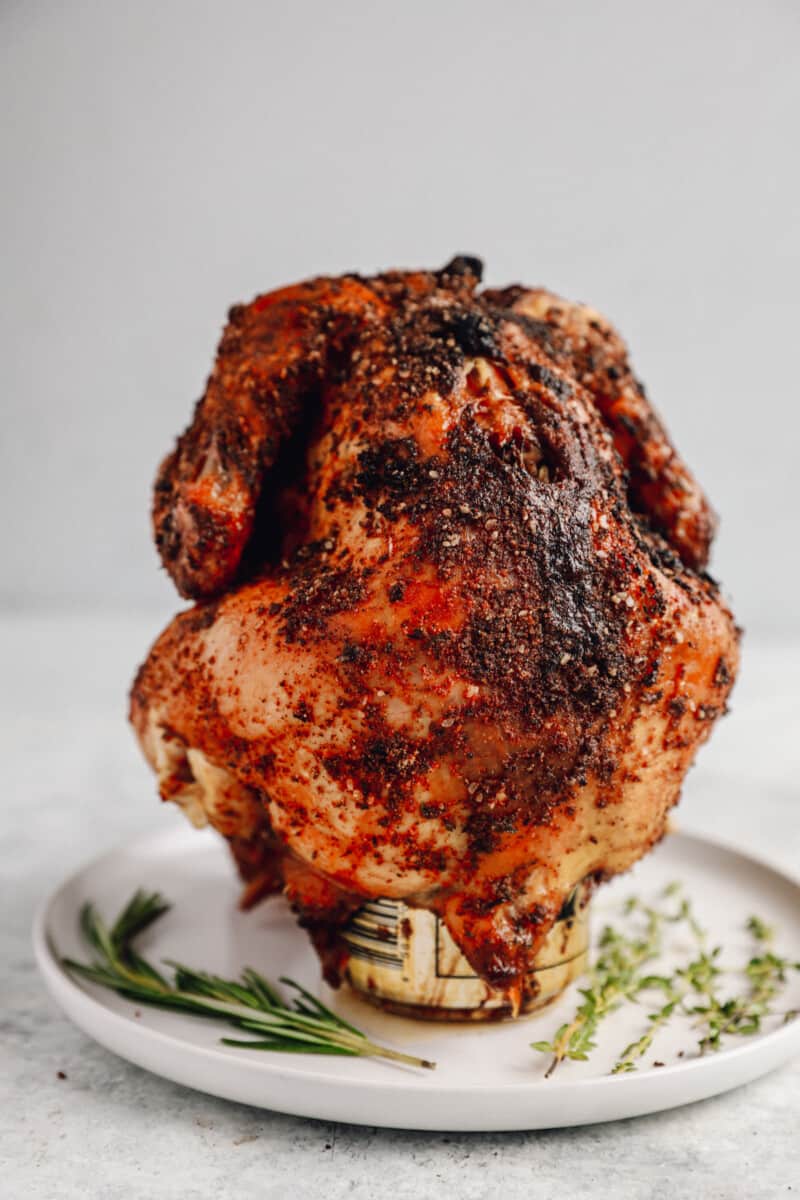
Chicken on a Can of Beer
This chicken on a can of beer is our new go to way of grilling chicken! It makes for such an easy dinner option, perfect for summer parties and family BBQ’s. Kids and adult are going to adore this flavor packed chicken!
Looking for more BBQ recipes? Why not also try my St. Louis Grilled Ribs Recipe and my Mexican Corn on the Cob.
Why You’ll Love this Beer Can Chicken on the Grill:
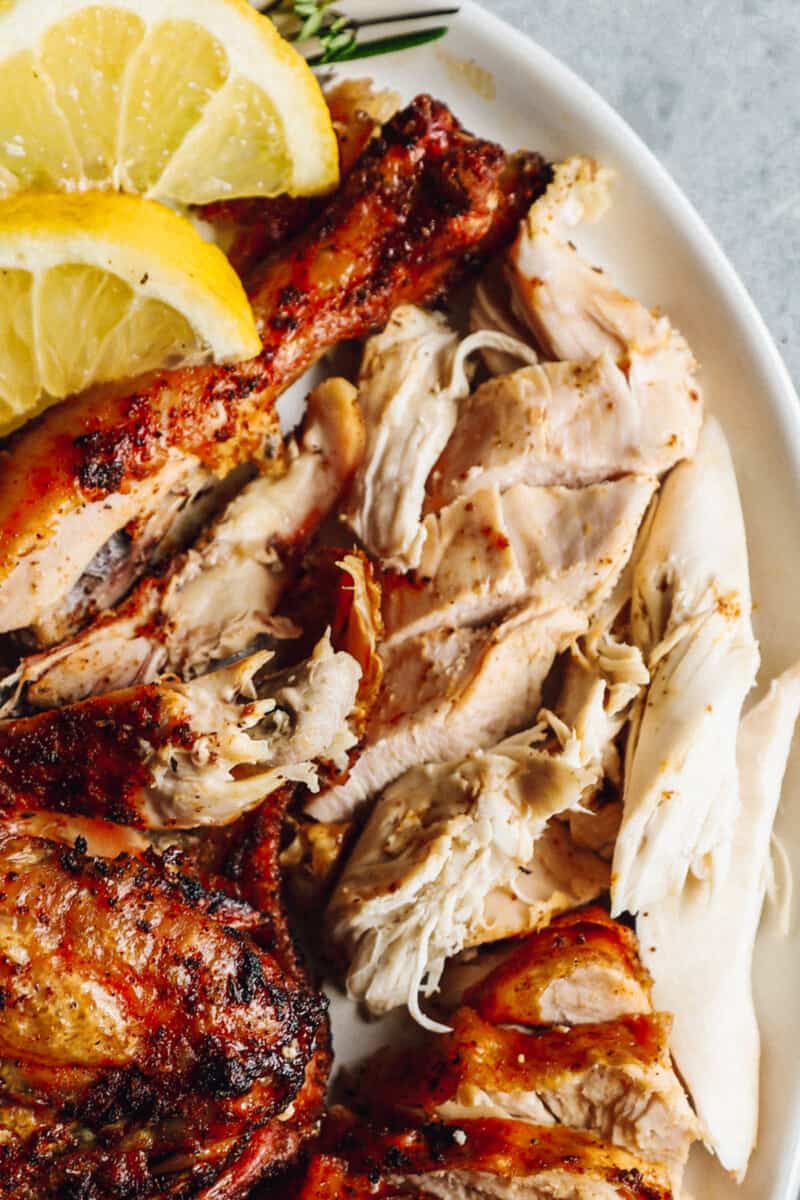
- JUICY: The steam from the beer can makes sure the chicken is super tender and juicy so it melts in your mouth.
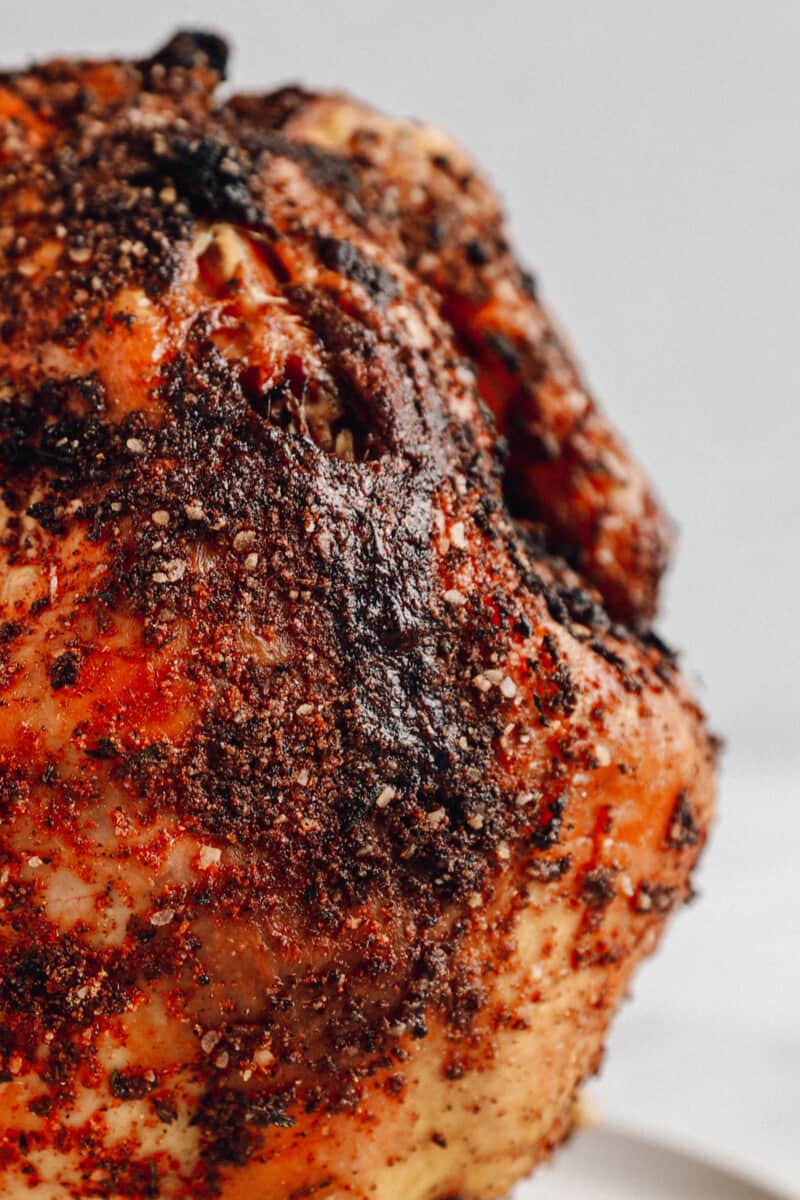
- CRISPY SKIN: The chicken is covered in a mix of spices and comes out super crispy and flavorful.
- EASY: So easy! Rub with pantry staples spices then pop on the beer can and grill!
If you’re looking for a healthy BBQ main, then look no further than this flavor packed beer can chicken!
How to Make Beer Can Chicken
Be sure to see the recipe card below for full ingredients & instructions!
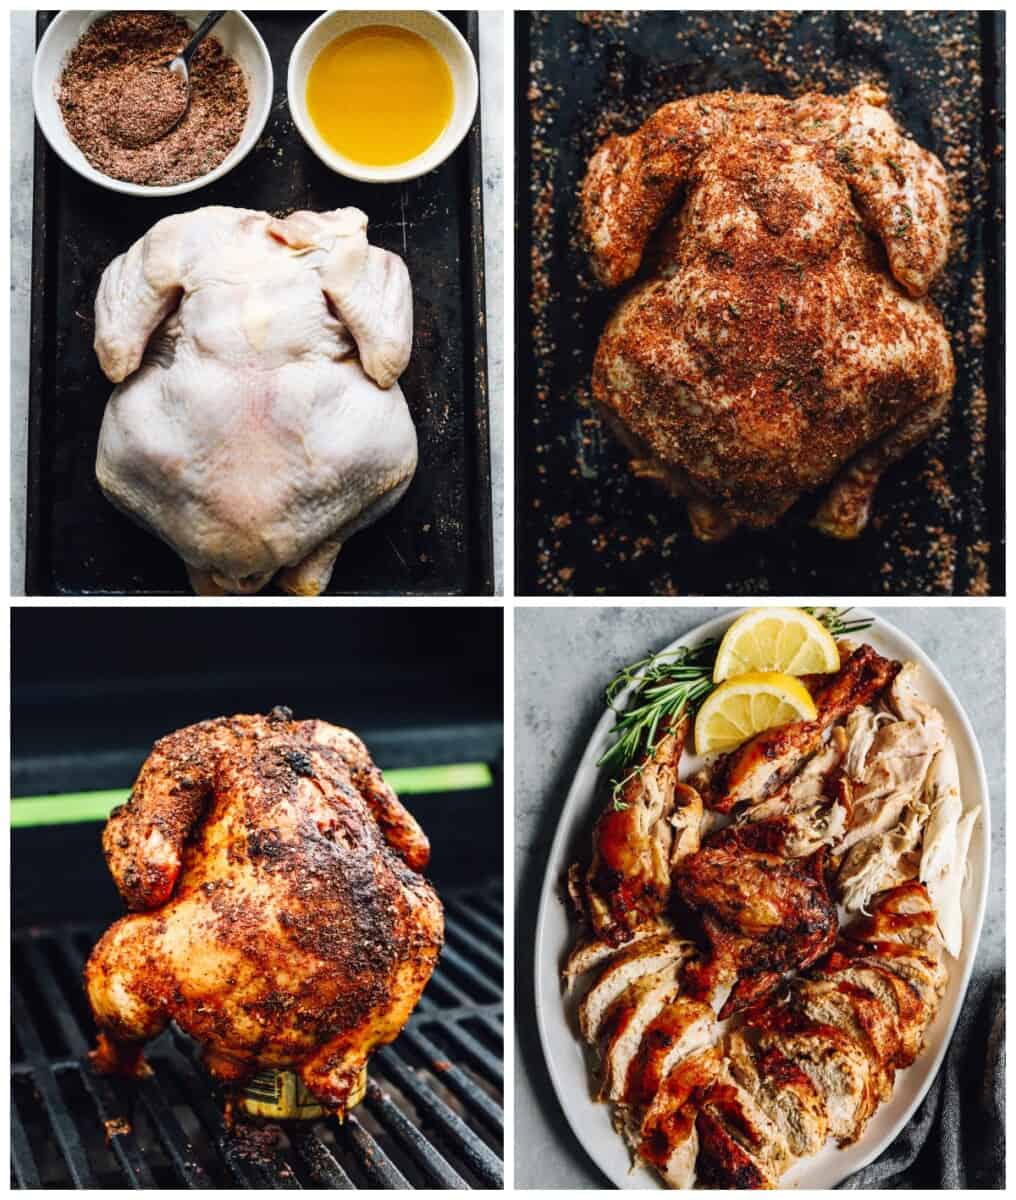
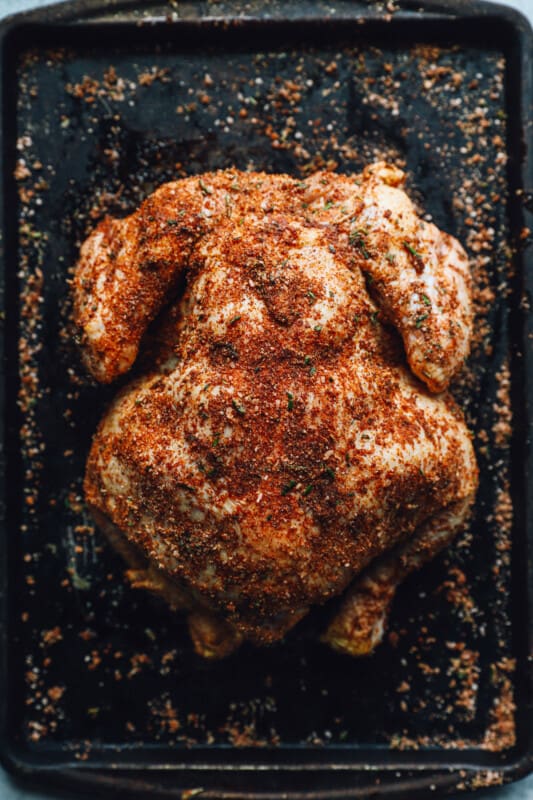
- Rub olive and the spice mixture all over the chicken.
- Set the chicken on the can of beer and grill.
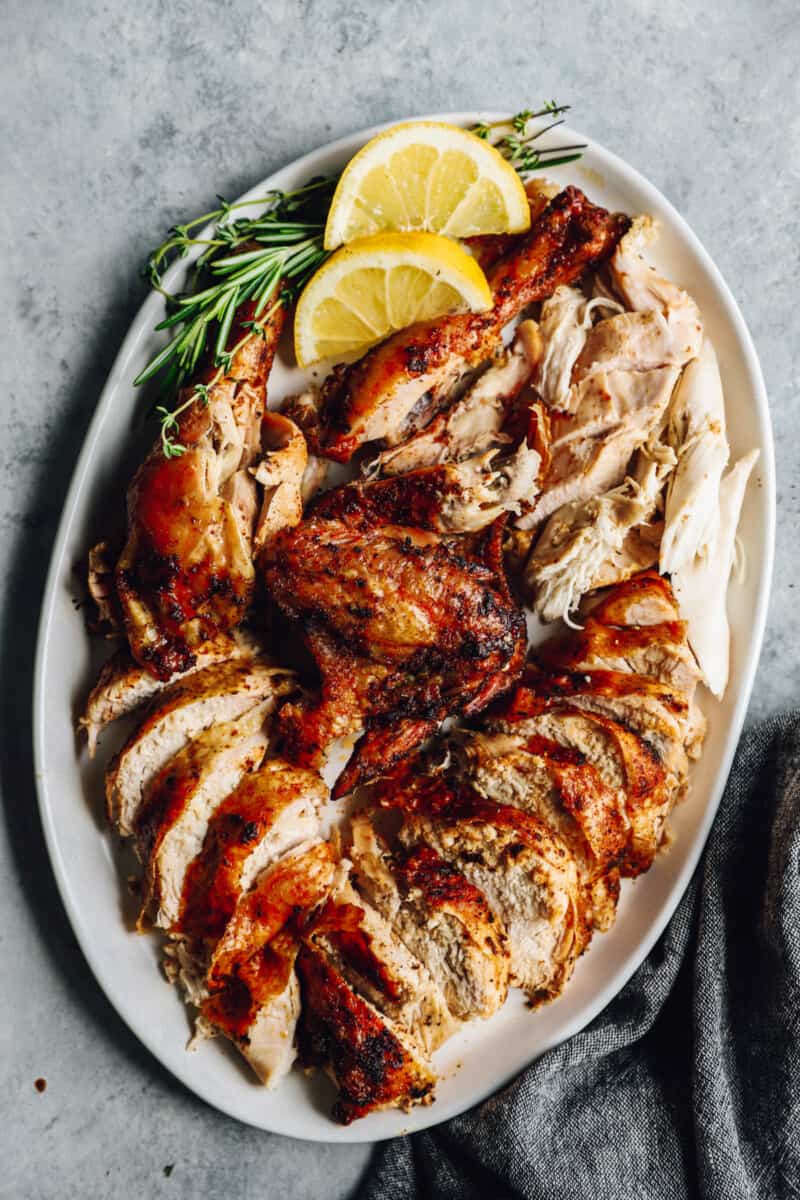
- Allow to rest, slice, serve and enjoy!
A can of beer props the chicken up on the grill so that it cooks more evenly and doesn’t need to be flipped. Leaving the beer can half full steams the inside of the bird, leading to tender, juicy meat.
Use whatever beer you have on hand. There’s no need to use a fancy beer because it’s only steaming the meat, not marinading it.
Definitely not! You can use a 12-ounce can of soda or juice instead. You can also use a vegetable or bean can. Remove the label before cooking, and bring the chicken juice-soaked veggies or beans to a boil on the stovetop at the end to make a tasty side.
Absolutely! Preheat the oven to 350°F and place the seasoned beer can chicken in a large roasting pan. Bake the chicken until the juices run clear and the breasts register 165°F, about 65 minutes.
I don’t recommend using a chicken larger than 5 pounds because the beer can may not be able to adequately support a bigger bird.
Serving Suggestions
This scrumptious chicken can be served with all kinds of yummy sides. Here are some favorites:
This chicken is so tender and flavorful, you can have it with sides, roll it up in a wrap or shred and smother with BBQ sauce. It’s the chicken that keeps on giving!
Storage Instructions
Store leftover beer can chicken in an airtight container in the refrigerator for up to 3 days. Remove the meat from the bones and let cool fully before storing.
Freezing Instructions
Freeze leftover beer can chicken in an airtight container for up to 3 months. Remove the meat from the bones and let cool fully before storing.
Make It A Meal
- Serve beer can chicken with mashed potatoes and grilled veggies to make a complete meal.
- Shred beer can chicken and use it in soups, on top of salads, or in tacos.
- Leftovers are great mixed with a little mayonnaise and piled into sandwiches.
Oven Instructions
To bake beer can chicken in the oven, preheat the oven to 350°F. Place the chicken on the beer can and set it in a deep-walled roasting pan. Bake the chicken until the juices run clear and the breasts register 165°F, about 65 minutes.
More Healthy Dinner Recipes We Love
- Shrimp and Asparagus Sheet Pan Meal
- Baked Chicken Parmesan
- Parmesan Crusted Tilapia
- Oven Fried Chicken Breast
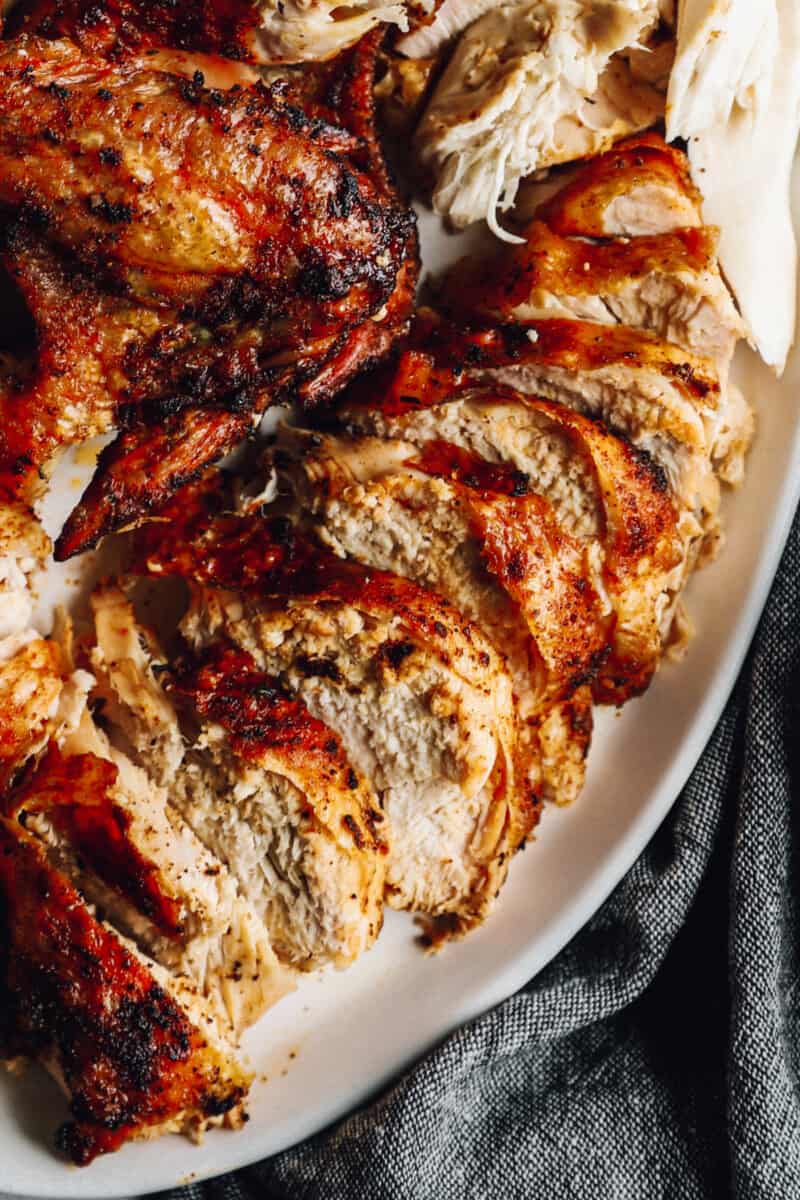
Beer can chicken is healthy, delicious and such an easy BBQ recipe! The steamed beer turns the chicken super moist and juicy, the seasoned skin becomes ultra crispy and flavor packed – it’s a total winner of a chicken dinner!
More Grilled Chicken Recipes to Try:
- Yogurt Marinated Chicken Thighs
- Grilled Bruschetta Chicken Caprese
- Grilled Teriyaki Chicken Breasts
- Stuffed Chicken Caprese Sandwich
- Tandoori Chicken
- Fiesta Lime Chicken
If you make this recipe be sure to upload a photo in the comment section below or leave a rating. Enjoy!

Beer Can Chicken Recipe
Ingredients
- 1 tablespoon paprika smoked preferred
- 2 teaspoons onion powder
- 2 teaspoons garlic powder
- 1 tablespoons kosher salt
- 1 teaspoon freshly ground black pepper
- ¼ cup chopped fresh herbs such as thyme and rosemary
- 2 tablespoons olive oil
- 1 whole chicken (about 4 pounds)
- 1 (12-ounce) can beer half full
Instructions
-
Turn on half of the burners on the grill and set to medium-high heat.
-
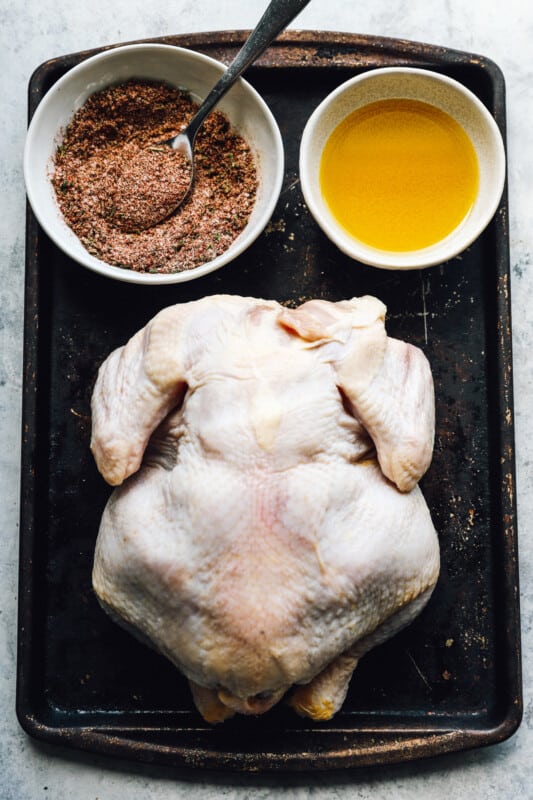
Combine the paprika, onion powder, garlic powder, salt, pepper, and herbs in a small dish.1 tablespoon paprika, 2 teaspoons onion powder, 2 teaspoons garlic powder, 1 tablespoons kosher salt, 1 teaspoon freshly ground black pepper, ¼ cup chopped fresh herbs
-
Rub the olive oil and seasoning all over the chicken.2 tablespoons olive oil, 1 whole chicken
-
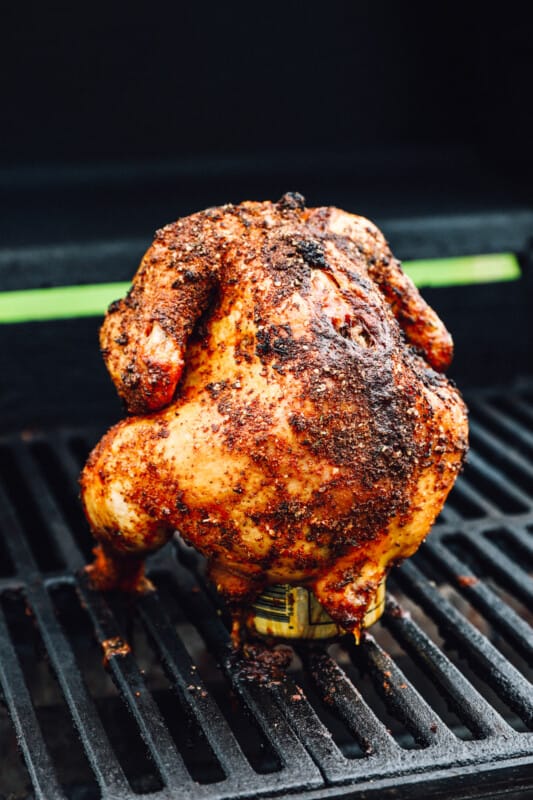
Set the chicken over the can of beer, so the chicken is sitting upright.1 (12-ounce) can beer
-
Place the chicken onto the grill, grilling over indirect heat and ensuring the burners directly under the chicken are turned off.
-
Cover the grill and let the chicken cook for 1 hour and 15 minutes.
-
Check the temperature of the chicken at the thickest part of the thigh. The temperature should reach 165°F.
-
Remove the chicken from the grill, loosely cover it in tin foil, and let it rest for 10-15 minutes before slicing.
Notes
- Serve beer can chicken with mashed potatoes and grilled veggies to make a complete meal.
- Shred beer can chicken and use it in soups, on top of salads, or in tacos.
- Leftovers are great mixed with a little mayonnaise and piled into sandwiches.
- To bake beer can chicken in the oven, preheat the oven to 350°F. Place the chicken on the beer can and set it in a deep-walled roasting pan. Bake the chicken until the juices run clear and the breasts register 165°F, about 65 minutes.
Nutrition
The post Beer Can Chicken appeared first on The Cookie Rookie®.
0 Commentaires