This homemade Peppermint Bark recipe is a delicious mix of semi-sweet and white chocolate, with a kick of minty flavor and crushed candy canes on top. It’s so easy to make with just 5 ingredients and quick prep. Make a batch of this peppermint chocolate bark for Christmas gifts, parties, and holiday celebrations!

Why We Love This Peppermint Bark Recipe
Peppermint-flavored chocolate and white chocolate are layered together and sprinkled with crushed candy canes to create a visually stunning and oh-so-delicious holiday treat.
- Easy. With just 5 ingredients– all pantry staples!– this recipe is super easy to throw together.
- Flavorful. The creamy, sweet white chocolate contrasts beautifully with the slightly bitter semisweet chocolate and the refreshing peppermint extract.
- Impressive. The layered chocolate and chopped candy canes make a beautiful presentation.
Variations on Chocolate Peppermint Bark
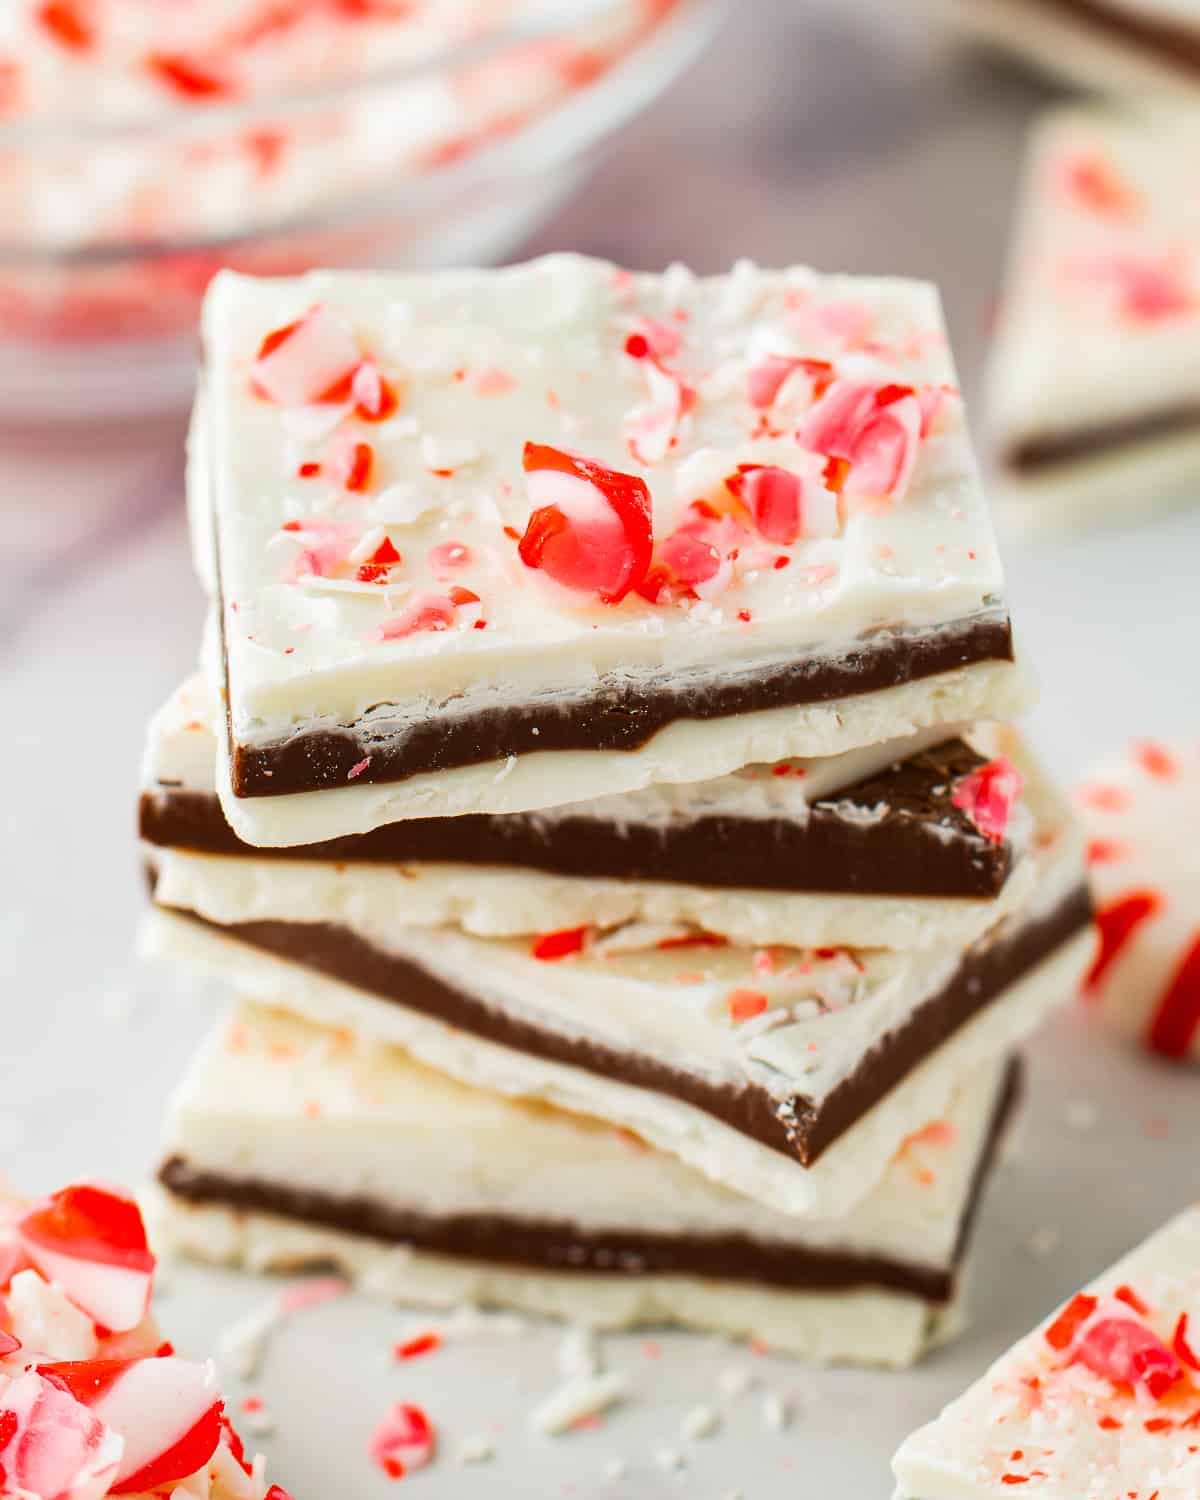
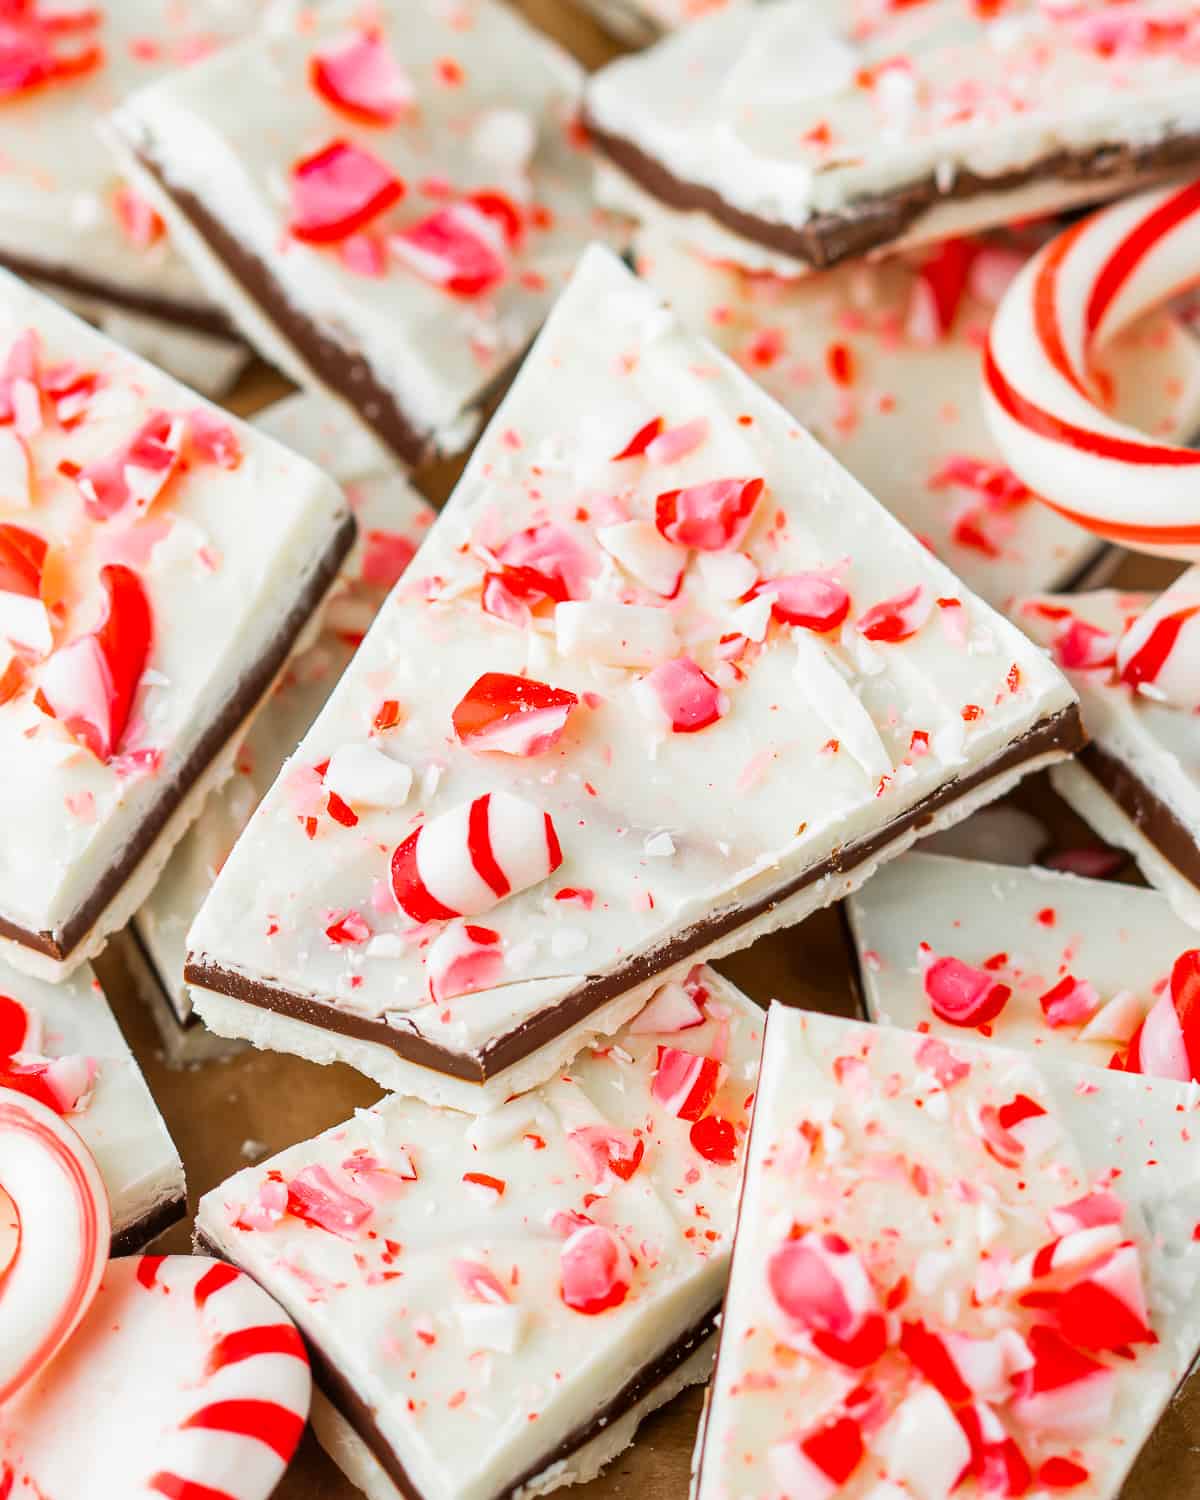
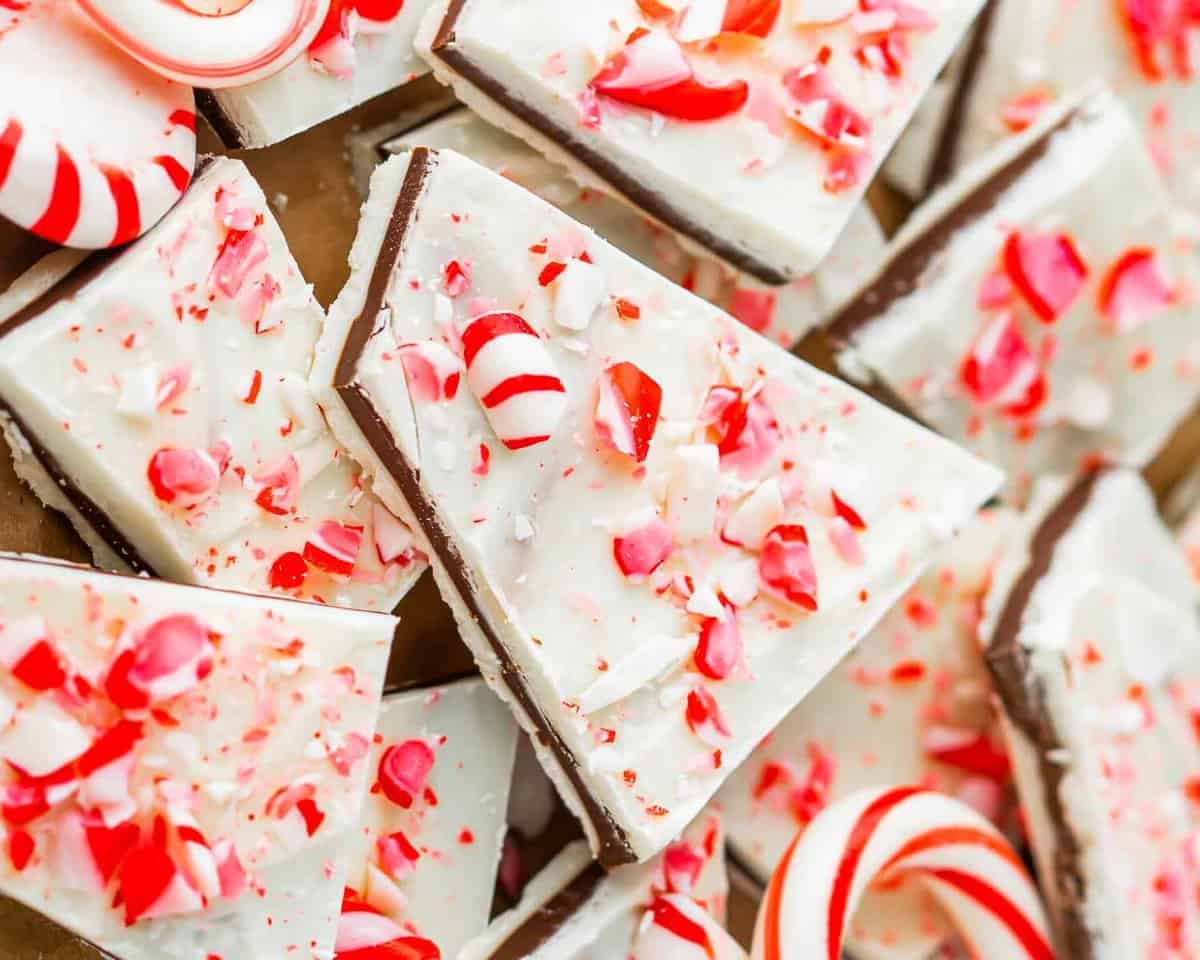
This peppermint and chocolate bark recipe has a semisweet chocolate layer sandwiched between two layers of creamy, crunchy white chocolate. You can switch it up by reversing the layers, or go for a simple two-layer bark.
Feel free to add some colorful sprinkles or festive candies to your bark to make it even more delightful!
How to Store
Store leftover peppermint bark in an airtight container in a cool, dry place for up to 2 weeks or in the refrigerator for up to 3 months.
How to Freeze
Freeze white chocolate peppermint bark in an airtight container or Ziplock bag with wax paper between the layers for up to 6 months. Let thaw at room temperature before enjoying.
Serving Suggestions
Serve this delicious candy bark as part of a holiday treat spread with other classics, such as Christmas crack, caramel pretzels, fantasy fudge, reindeer food, buckeye candies, cream cheese mints, or Oreo balls.
The term bark comes from the thin layers of chocolate that create this treat. It resembles thin layers of tree bark!
This candy bark is made from layers of mint-flavored chocolate and white chocolate. The bark is topped with crushed candy canes for a bit of crunch!
If your bark layers didn’t stick together, it’s likely that you chilled the layers for too long. Take care to only chill the bottom and middle layers for 10-15 minutes.
While this bark doesn’t have to be refrigerated, chilling it does extend its shelf life. It also prevents the chocolate from melting if your house is warm.
Crushed candy canes can turn sticky when they are refrigerated or frozen. This is normal and nothing to worry about!
Yes, this bark will eventually go bad. I would recommend discarding it after 3 months at the most.
More Chocolate Bark Recipes We Love

Peppermint Bark Recipe
Equipment
-
Kitchen Scale (optional)
Ingredients
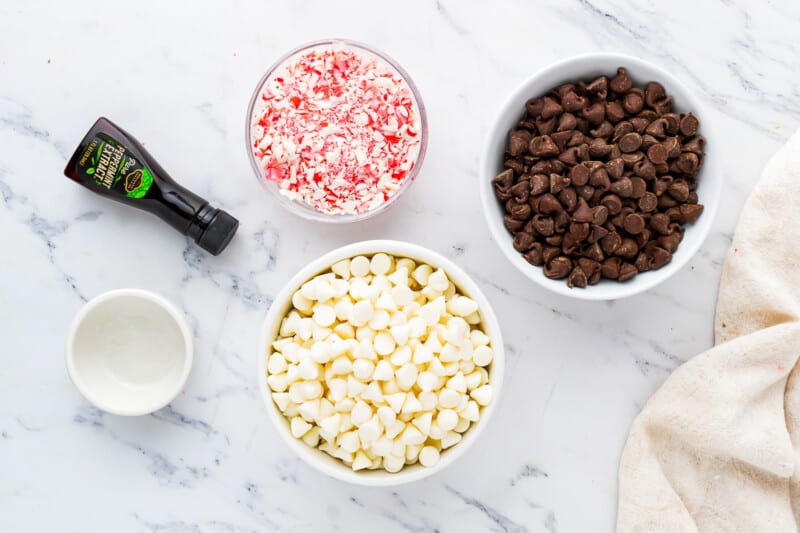
- 12 ounces white chocolate 340 grams
- ¾ teaspoon coconut oil 4 grams, divided
- ½ teaspoon peppermint extract 2 grams, divided
- 6 ounces semisweet chocolate 170 grams
- 3 candy canes 84 grams
Instructions
-
Line a small baking sheet with parchment paper. Set aside.
-
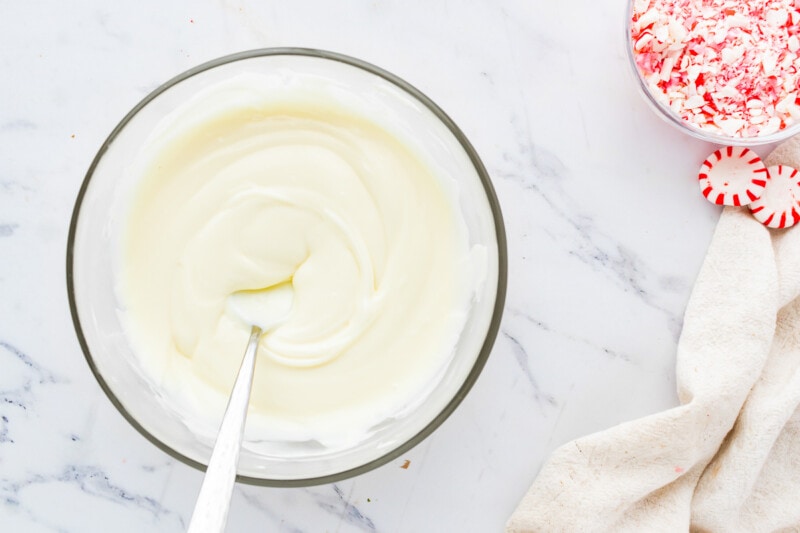
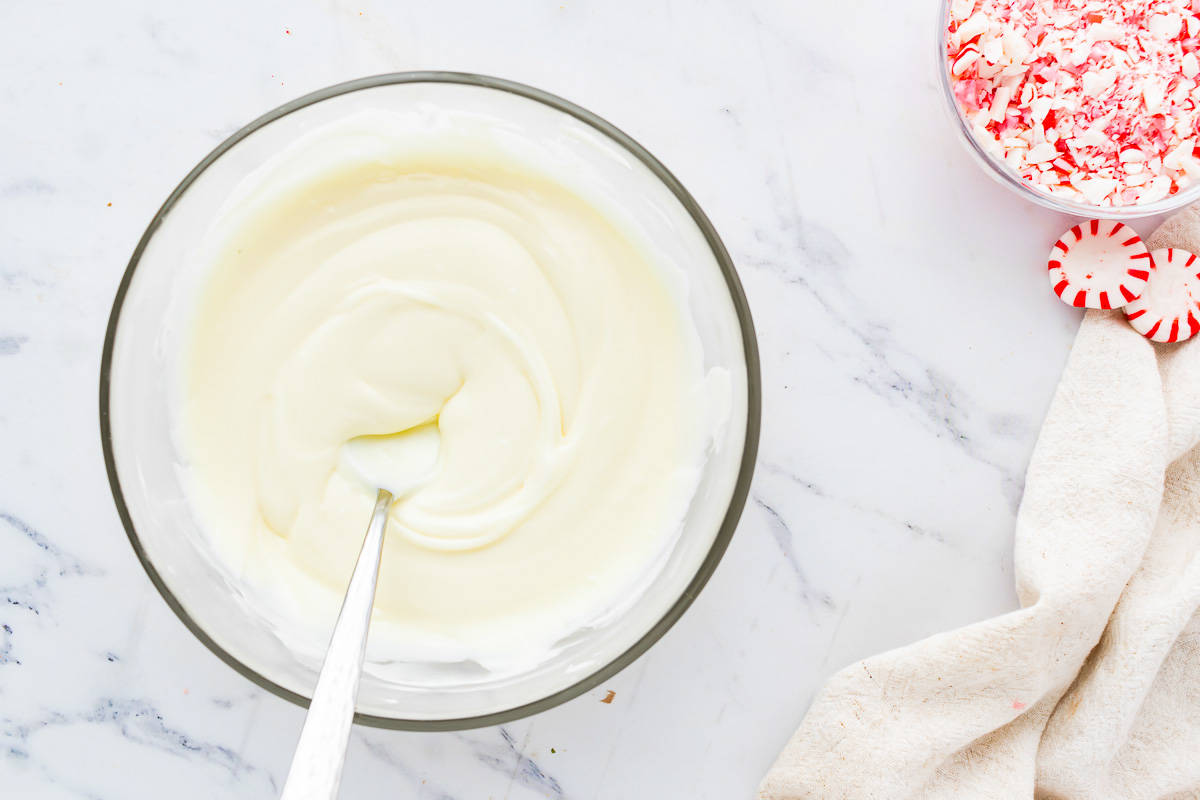
Place the white chocolate and ½ teaspoon of coconut oil in a microwave-safe bowl and heat, stirring every 30 seconds until melted. Stir in ¼ teaspoon peppermint extract.12 ounces white chocolate, ¾ teaspoon coconut oil, ½ teaspoon peppermint extract
-
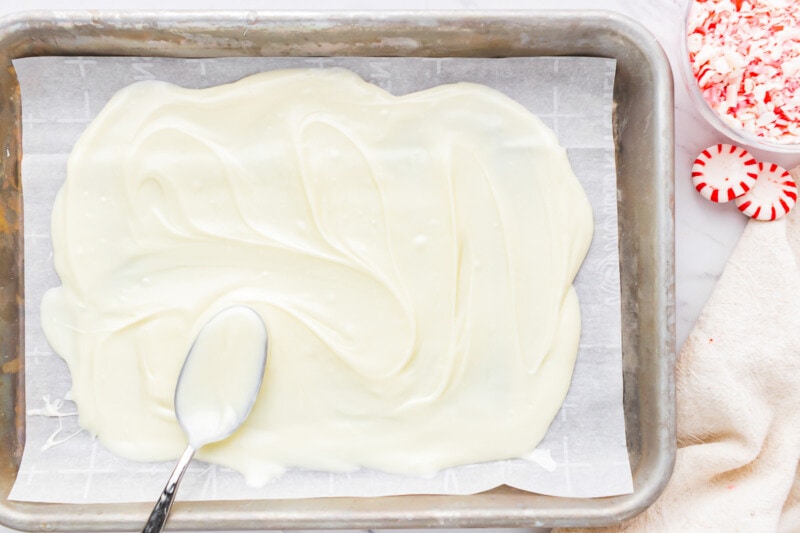
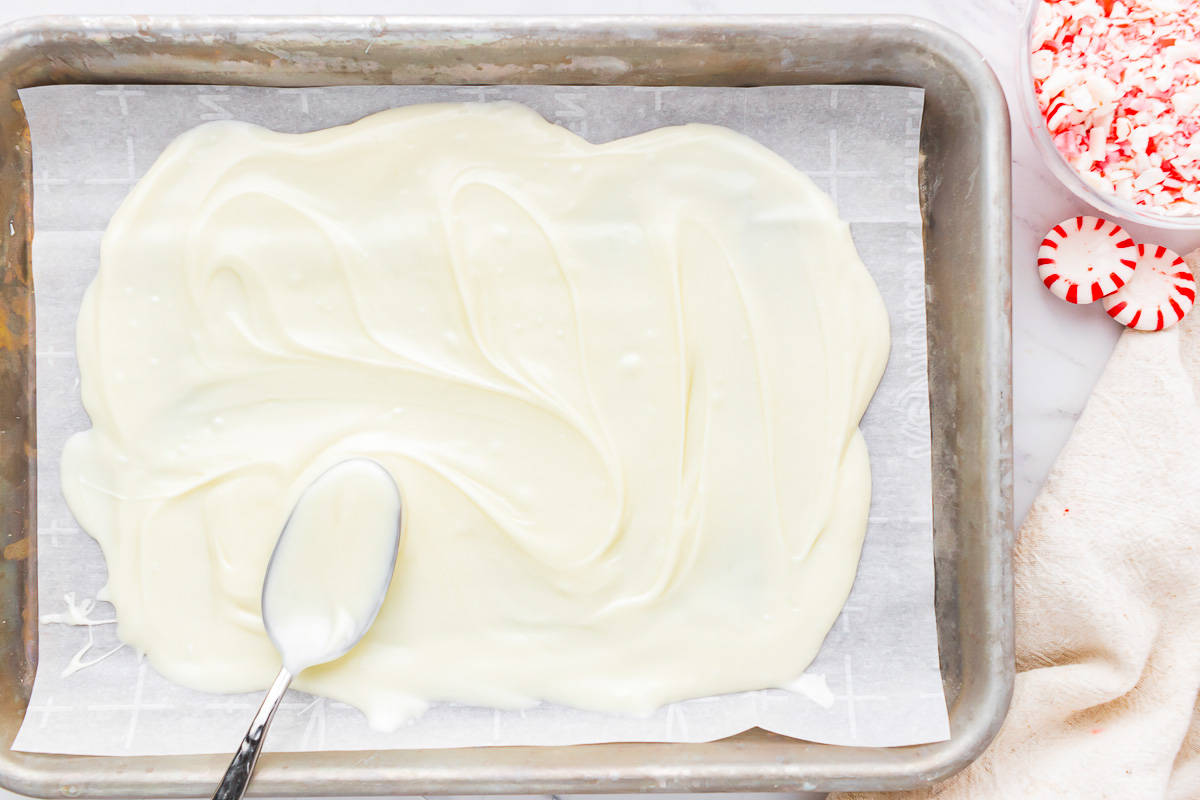
Pour ½ of the white chocolate mixture into the prepared baking dish, and smooth into an even layer with a spatula.
-
Place in the refrigerator for 10-15 minutes or until almost completely set.
-
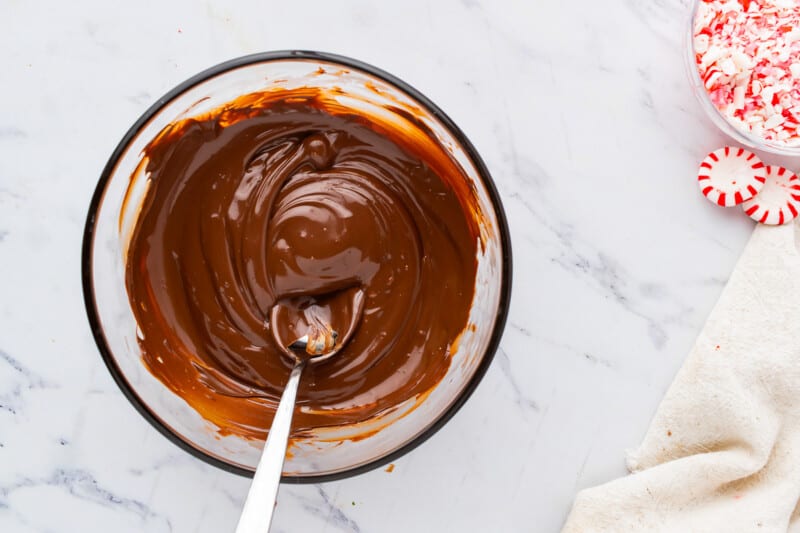
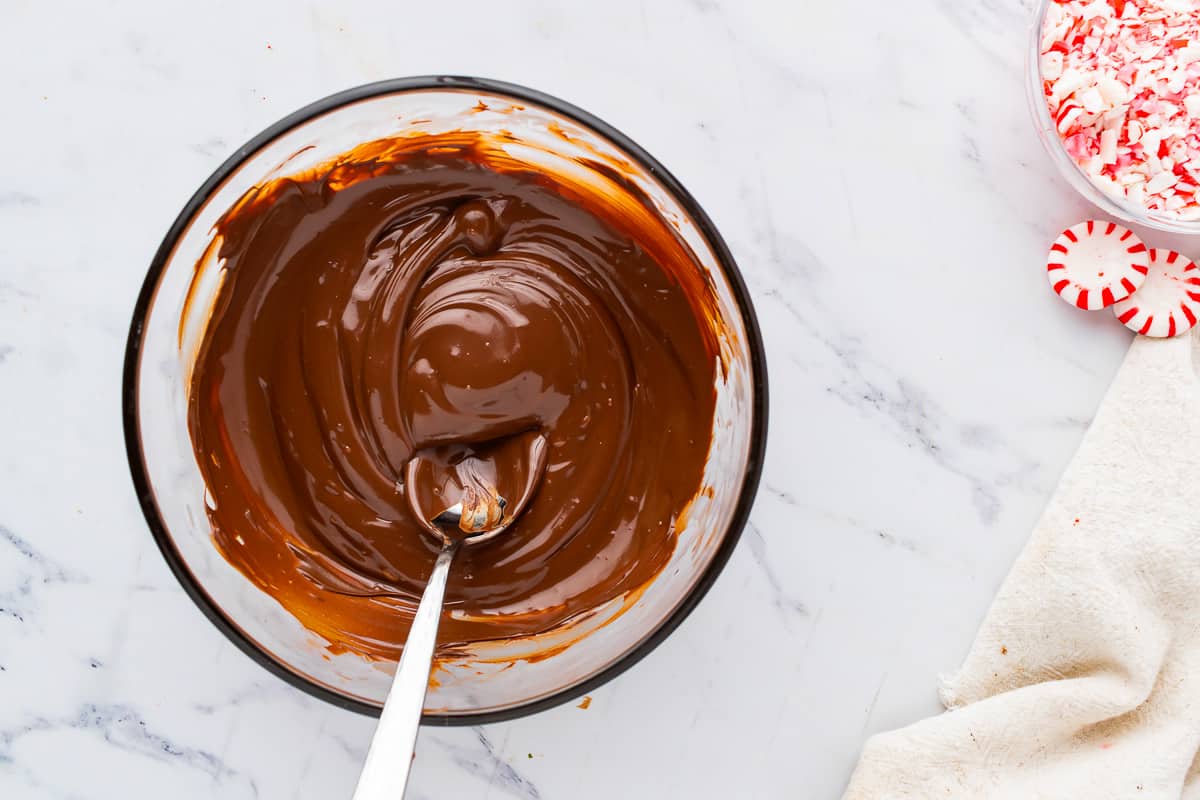
Place the semi-sweet chocolate and remaining ¼ teaspoon coconut oil in a heat-proof bowl, and heat, stirring every 30 seconds until melted. Stir in ¼ teaspoon of peppermint extract.6 ounces semisweet chocolate
-
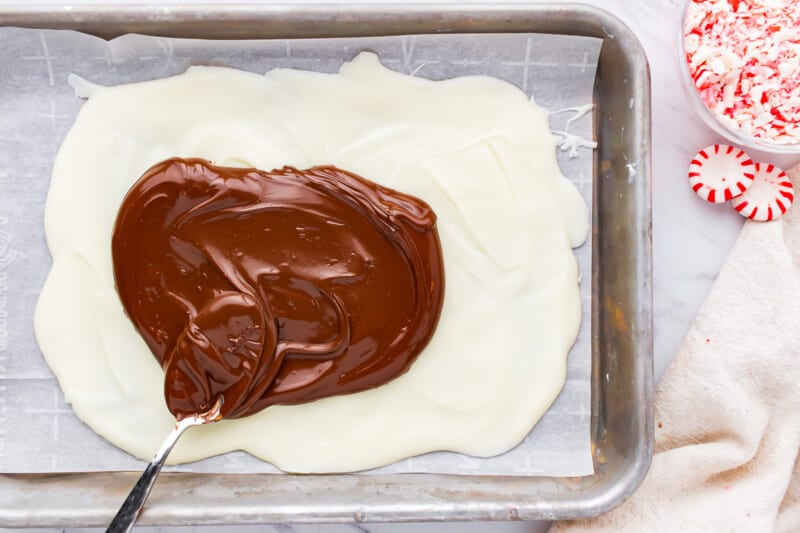
Pour the semi-sweet chocolate over the white chocolate and smooth into an even thin layer.
-
Refrigerate for another 10-15 minutes or until almost set.
-
While the chocolate is setting up, crush the candy canes by placing them in a Ziplock bag and using a rolling pin to break them up.3 candy canes
-
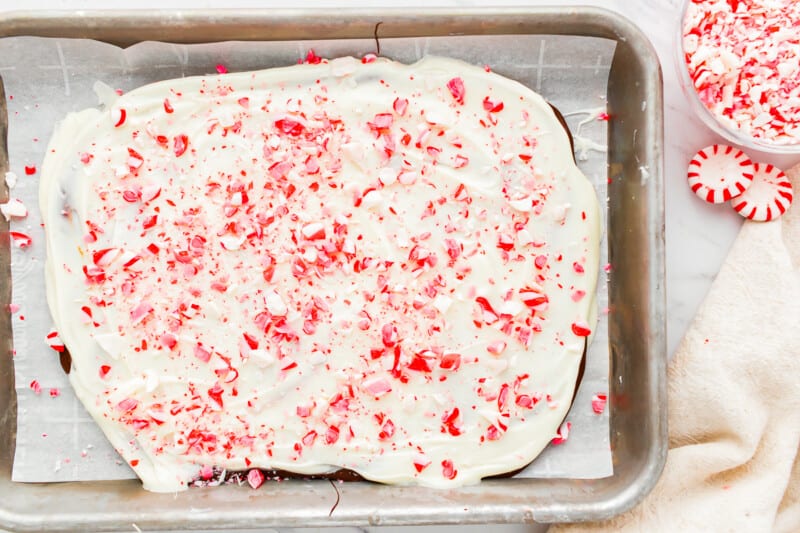
Re-melt the remaining white chocolate if needed. Pour over the semi-sweet chocolate and smooth into an even layer. Top with a generous sprinkle of the crushed candy canes.
-
Refrigerate for at least another 30 minutes or until the bark is completely set.
-
Once set, remove from the pan and peel off the parchment paper. Slice or break into pieces as small or as large as you'd like.
Notes
- Gently tilt the baking sheet to help spread the chocolate around more evenly.
- Take care to only chill the bottom and middle layers for 10-15 minutes; otherwise, the layers will not adhere.
- Use cookie cutters to cut your bark into fun shapes!
Nutrition
How to Make Peppermint Bark Step by Step
Prep: Line a small baking sheet with parchment paper. Set aside for now.
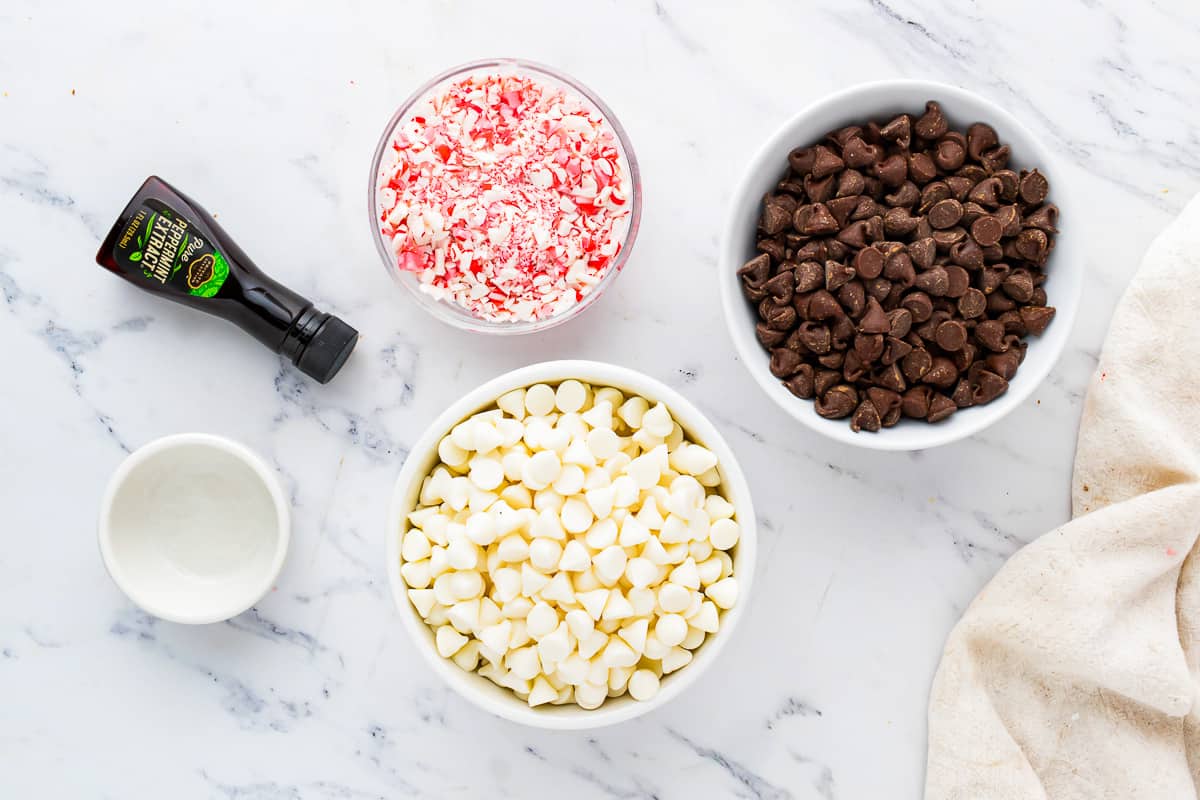
Melt the White Chocolate: Place 12 ounces of white chocolate and ½ teaspoon of coconut oil in a microwave-safe bowl and heat, stirring every 30 seconds until melted. Stir in ¼ teaspoon peppermint extract.
Set the White Chocolate: Pour half of the white chocolate mixture into the prepared baking dish, and smooth it into an even layer with a spatula. Place in the refrigerator for 10-15 minutes or until almost completely set.
Melt the Semisweet Chocolate: Place 6 ounces of semisweet chocolate and the remaining ¼ teaspoon of coconut oil in a heat-proof bowl, and heat, stirring every 30 seconds until melted. Stir in ¼ teaspoon of peppermint extract.
Layer the Chocolate: Pour the semi-sweet chocolate over the white chocolate and smooth it into an even thin layer. Refrigerate for another 10-15 minutes or until almost set.
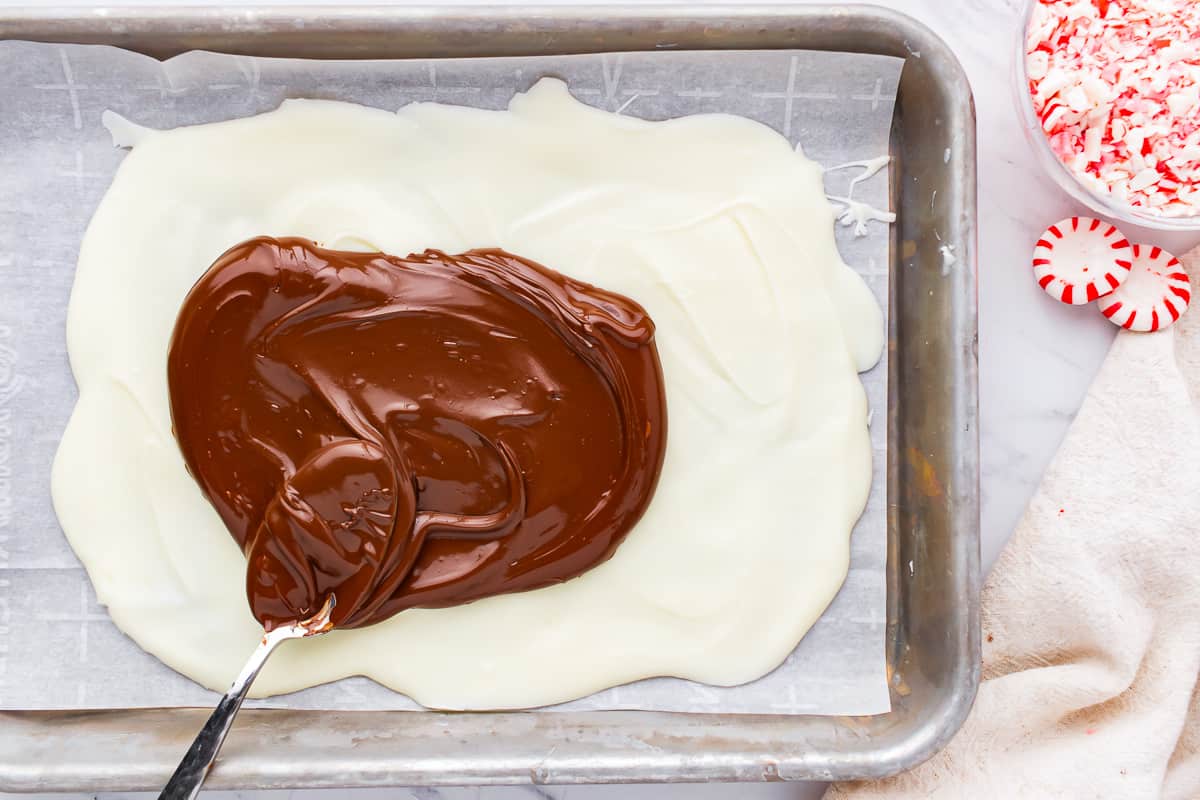
Make the Candy Cane Layer: While the chocolate is setting up, crush 3 candy canes by placing them in a Ziplock bag and using a rolling pin to break them up. Re-melt the remaining white chocolate if needed. Pour over the semisweet chocolate and smooth into an even layer. Top with a generous sprinkle of the crushed candy canes.
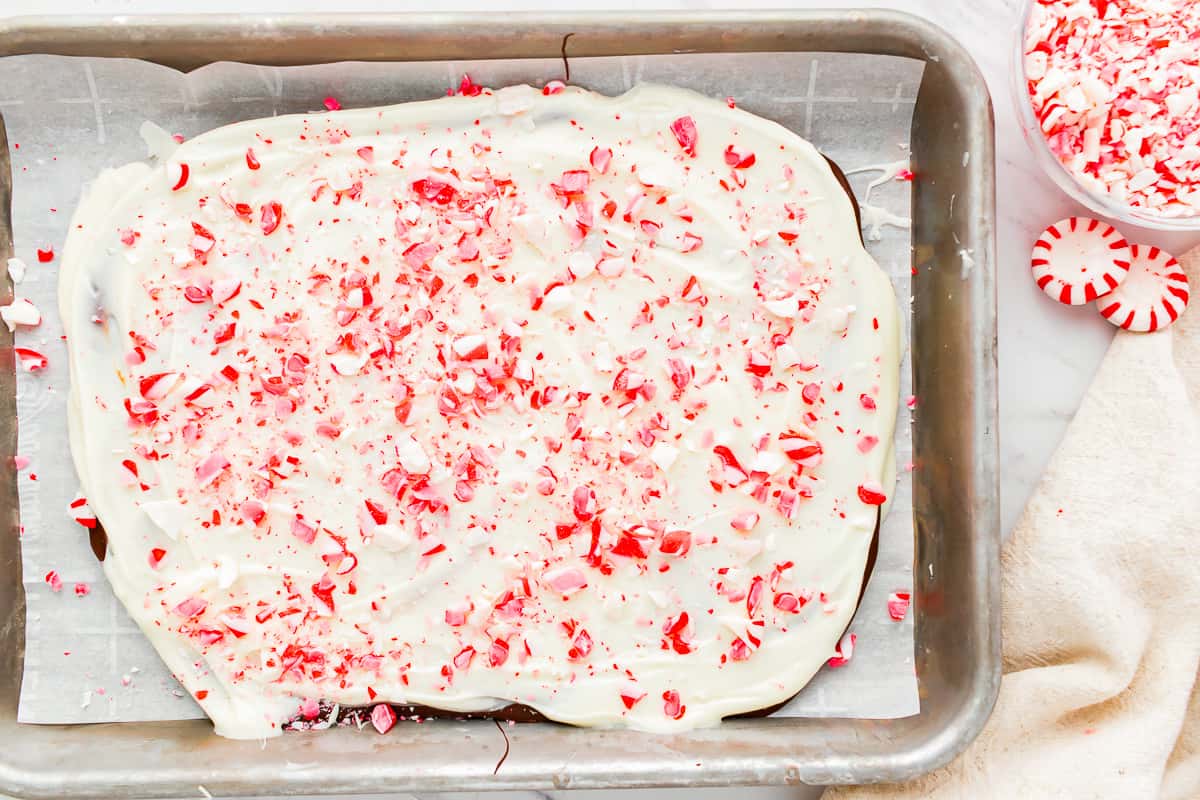
Break into Pieces: Refrigerate for at least another 30 minutes or until the bark is completely set. Once set, remove from the pan and peel off the parchment paper. Slice or break into pieces as small or as large as you’d like.
The post Peppermint Bark appeared first on The Cookie Rookie®.
0 Commentaires