Homemade Apple Pie is one of the coziest, homiest desserts I can think of! Fresh, warm, and made from scratch (with homemade apple pie crust), making it the ideal dessert. This easy apple pie recipe makes it simple to bake a fresh pie for any occasion!
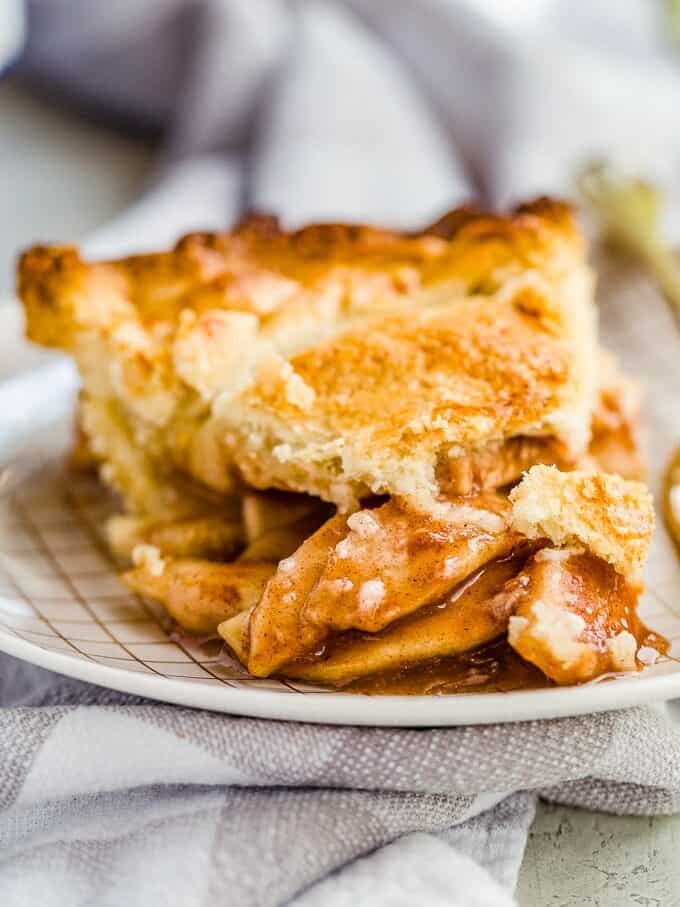
What’s in this Homemade Apple Pie Recipe?
My sister-in-law, Anna, makes such good pies, and she was gracious enough to share her family recipe with us! With this homemade filling and pie crust, we’ve got one seriously fresh and delicious pie ready for the fall season. I can’t believe how easy it is, either.
- Granulated Sugar: Sweetens the pie.
- All-Purpose Flour: Helps thicken up the filling so the pie doesn’t turn out watery.
- Ground Cinnamon: Adds warmth and a touch of spice to the pie.
- Apples: Choose whichever apples you prefer! I used Gala, but many people love Granny Smith.
- Pie Crusts: All you need to make homemade pie crust is flour, salt, shortening, and a bit of water. Just mix the ingredients together to make the dough, roll it out, then mold it into the pie dish.
- Unsalted Butter: Adds moisture, flavor, and richness to the filling.
Pro Tip: You can leave the skin on the apples if you prefer. This is especially nice looking if you use red apples.
Variations on Easy Apple Pie
This recipe is great because it’s just so simple! Make it even easier by using store-bought pie crusts to save time. You can swap some or all of the granulated sugar for brown sugar for a richer, more caramel-like taste, and you can use store-bought apple pie spice for a bit more flavor.
Make this homemade apple pie as written, then experiment to make it your own! Go apple picking, find a few different apples you love, and get baking!
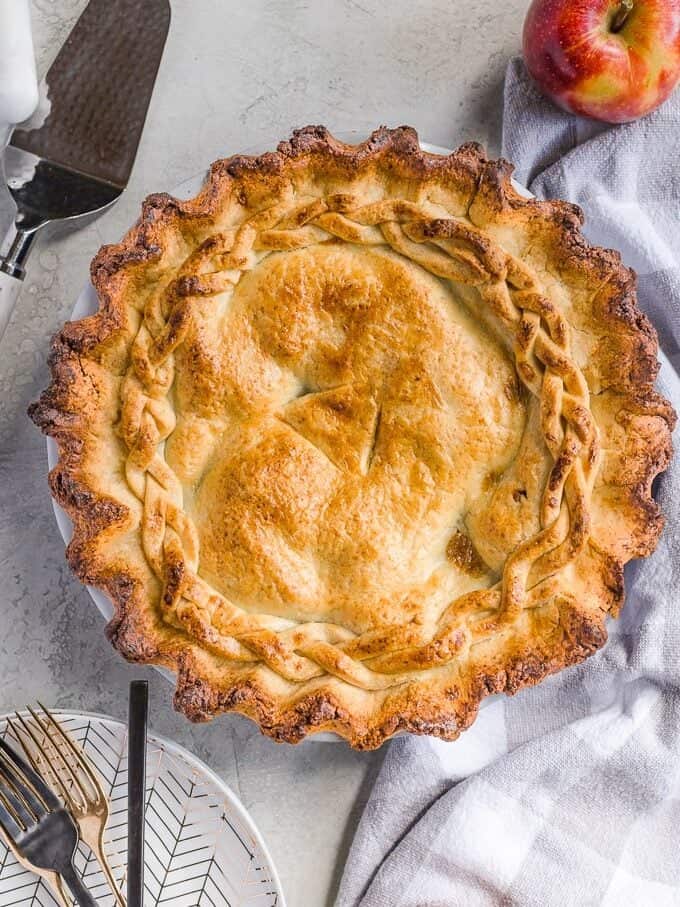
Granny Smith apples are the best and most reliable to use in baking. They are naturally tart and sweet, which is perfect for baking! Other varieties that work well are Gala (what I used here), Honeycrisp, golden delicious, or Jonagold.
That’s totally up to personal preference! I peeled mine, but you could leave the skin on if you prefer.
There’s no need to cook the apples before adding them to this pie, but you certainly can if you like a more caramelized flavor.
I like to use flour because it has a creamier, more natural mouthfeel. Cornstarch is a great thickener, but it tends to have a gel-like texture that more closely resembles canned pie filling.
I don’t blind bake this pie because I find it unnecessary for this particular recipe. The flour does a good job of thickening the filling and absorbing excess moisture as it cooks, so I didn’t find that I needed any extra protection.
This recipe is pretty foolproof, but if you do find your filling to be very wet or liquidy, you can blind bake the bottom pie crust before adding the filling.
If your pie always turns out watery, it may be time to turn your attention to the top crust. This crust helps seal in moisture, but it can also cause too much moisture to be retained, leading to watery filling. Make sure to cut some vent slits into your top crust before baking to help the steam escape.
You can store this pie at room temperature for up to 2 days because it doesn’t contain any cream or eggs in the filling. Be sure to refrigerate it after 2 days, though!
Absolutely! You can freeze it for up to 3 months.
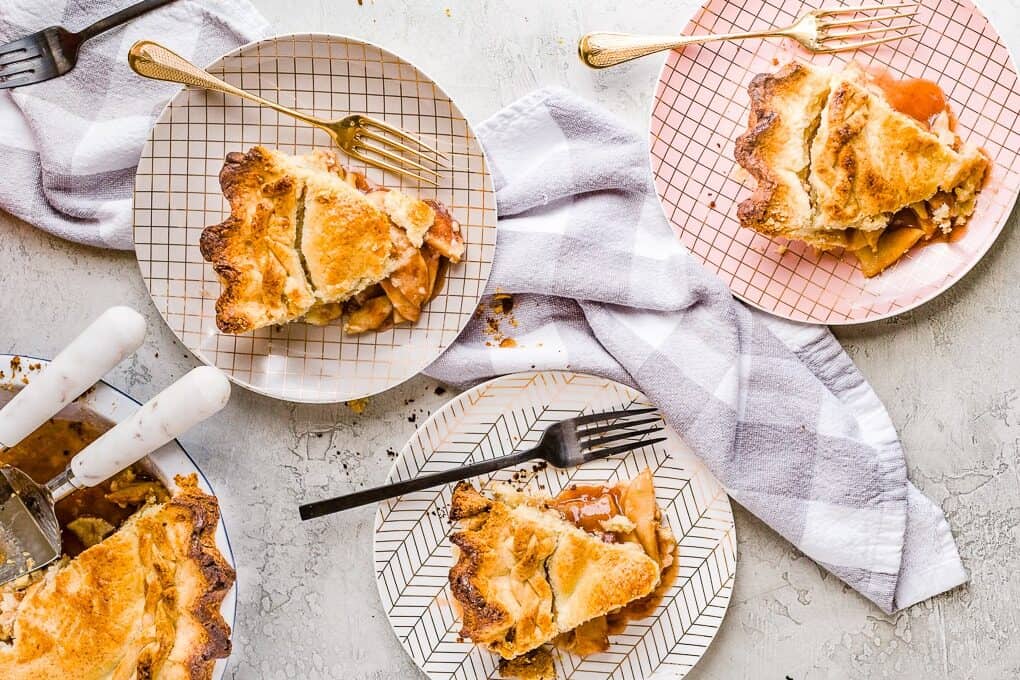
How to Store and Reheat
Store leftover homemade apple pie covered with plastic wrap or aluminum foil at room temperature for up to 2 days or in the refrigerator for up to 4 days. Enjoy cold, at room temperature, or gently warmed in the microwave.
How to Freeze
Freeze homemade apple pie whole or cut into individual slices tightly wrapped in 2 layers of plastic wrap and 1 layer of aluminum foil for up to 3 months. Let thaw overnight in the refrigerator before reheating.
Serving Suggestions
Serve this homemade apple pie with a scoop of vanilla or pumpkin pie cream and a dollop of whipped cream (or try pumpkin spice whipped cream!). For a sweet-and-savory take, melt a slice of cheddar cheese on top.
Enjoy a slice with some caramel apple cider, an apple crisp macchiato, an apple pie Moscow mule, sparkling apple pie on the rocks, caramel apple sangria, caramel apple hot toddies, or an apple butter old fashioned.
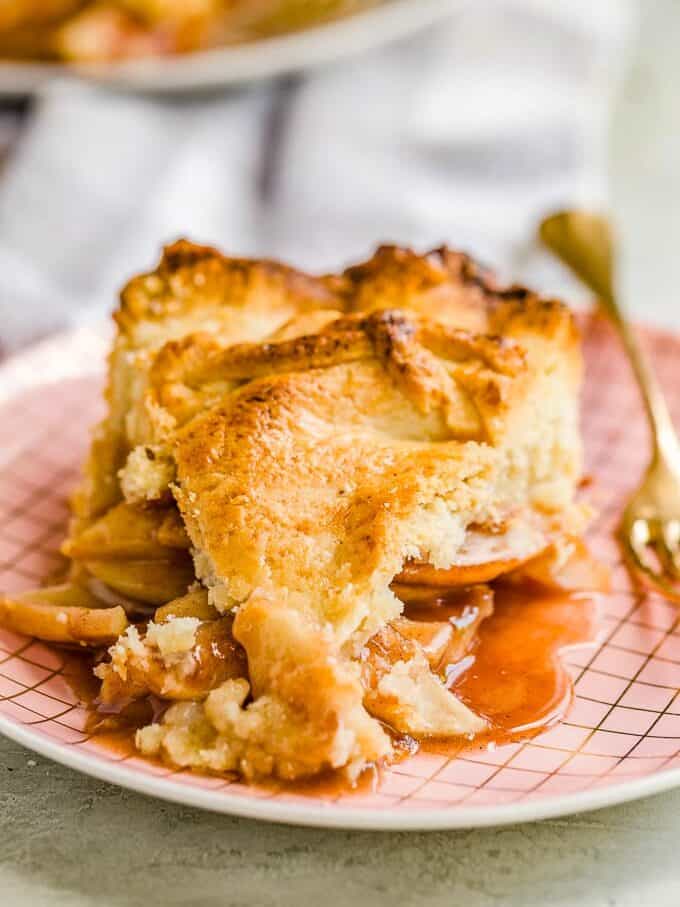
5-Star Review
“Enjoyed the way my kitchen smelled after baking this, and loved eating it even more! Delish!” – Beth Pierce

Apple Pie Recipe
Equipment
-
Kitchen Scale (optional)
Ingredients
- 1 cup granulated sugar 200 grams
- 2 tablespoons all-purpose flour 15 grams
- 1 teaspoon ground cinnamon 3 grams
- 6-8 apples peeled and sliced (see note)
- 2 homemade pie crusts (click for recipe)
- 2 tablespoons unsalted butter 28 grams, cubed (¼ stick)
Instructions
-
Preheat oven to 400°F.
-
Combine the sugar, flour, and cinnamon in a large bowl until well-mixed.1 cup granulated sugar, 2 tablespoons all-purpose flour, 1 teaspoon ground cinnamon
-
Add the apples, tossing until well coated (I used about 6 apples for my pie plate and only about ¾ of the sugar mixture).6-8 apples
-
Line a pie pan with one of the pie crusts. Pour the sugar-coated apples into the pie pan. Dot with cubes of butter.2 tablespoons unsalted butter, 2 homemade pie crusts
-
Place the second crust on top of apples and butter and seal. Cut a few slits for steam to escape on top layer of crust.
-
Spread a small amount of milk on top of the pastry (I use a fork; when I use a spoon the pastry gets soggy), then sprinkle the pie with leftover sugar. This will give the pie a warm and brown look on top.
-
Bake for 50 minutes. I would put a cookie sheet a rack lower in the oven in case juices overflow your pie plate.
-
Let pie cool, then slice and serve.
Video
Notes
- Choose whichever apples you prefer! I used Gala, but many people love Granny Smith.
- You can leave the skin on the apples if you prefer.
- Make sure to cut vent slits in the top pie crust to avoid a soggy pie.
Nutrition
More Apple Dessert Recipes We Love
- Easy Apple Crisp
- Apple Cake
- Apple Dumplings
- Apple Cinnamon Rolls
- Apple Bundt Cake
- Apple Cinnamon Bread
- Baked Apples
- Caramel Apple Freezer Pie
- Fried Apples
- Caramel Apple Pie Bread Pudding
The post Homemade Apple Pie Recipe appeared first on The Cookie Rookie®.

0 Commentaires